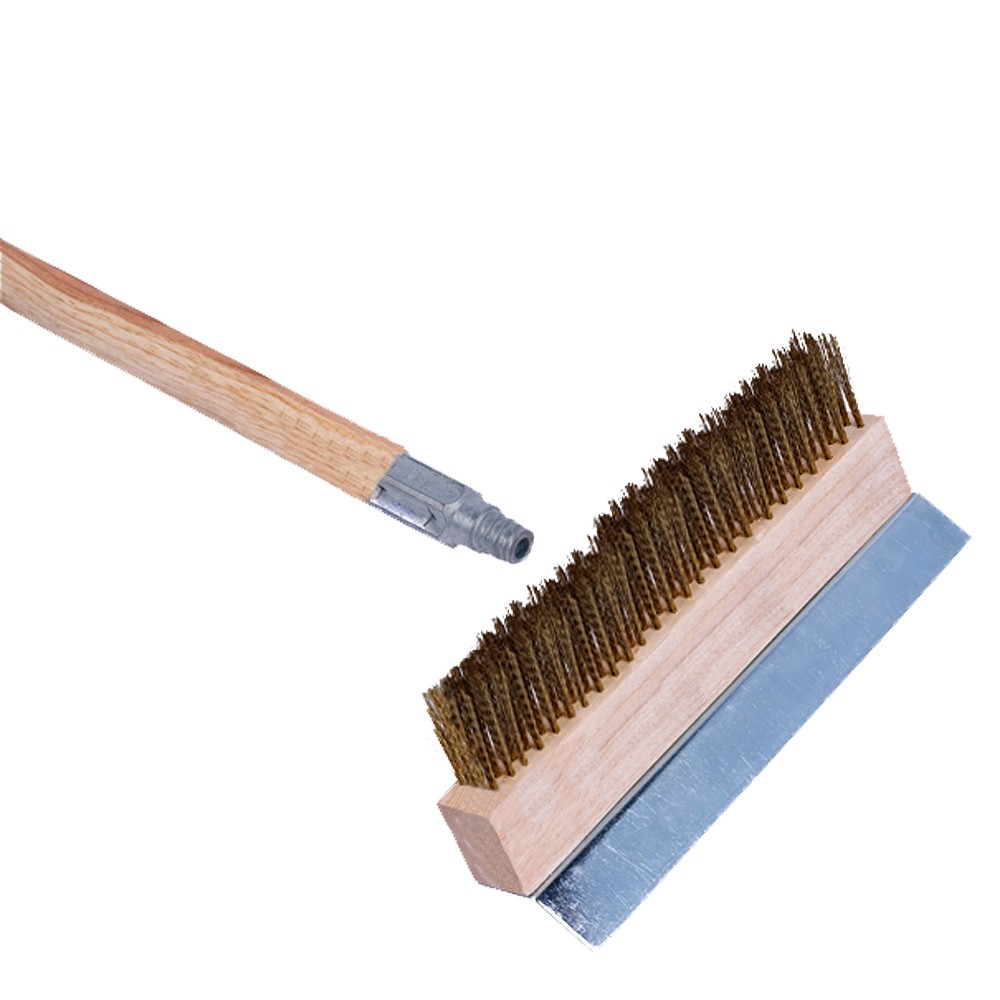
The baking surface needs regular inspection, not increasingly aggressive scraping. The floor may have ash, food remnants, or a loose piece of joint material. Identify what you are removing so that cleaning does not turn a minor defect into a damaged brick.
Separate dirt from damage
After cooling, inspect the bottom in good light. Compare dark spots, edges of elements, and places where the tool catches. colour changes after work do not necessarily indicate a need for replacement, whereas a movable brick requires assessment of its seating.
If fragments are coming off the surface, determine their origin before the next bake. Do not rub loose material into the gap. Replaced refractory bricks should correspond to the function of the bottom and the requirements of the entire oven, including any potential contact with food.
Guide the tool over the surface
Oven brush with scraper helps remove residues from the appropriate lining. Adjust pressure according to its condition. If resistance is caused by a protruding brick, pressing harder will not level the floor properly.
Do not pour water onto a hot oven floor or apply any random chemical agent. The cleaning method must be suitable for the material and the device instructions. Wet cleaning, if permitted, changes the subsequent requirements for drying before heating.
Check the floor before introducing dough
- Remove residues using the method intended for the surface.
- Inspect the brush, handle, and bristle attachment.
- Check for chipping and the placement of bricks.
- Maintain the required drying after each wet job.
Also determine where you place dirty tools and the ash container. After finishing, inspect the floor again without food in the chamber. Recording damage with the date will later allow you to recognize if an unevenness is increasing, instead of noticing it only when taking out the pizza.