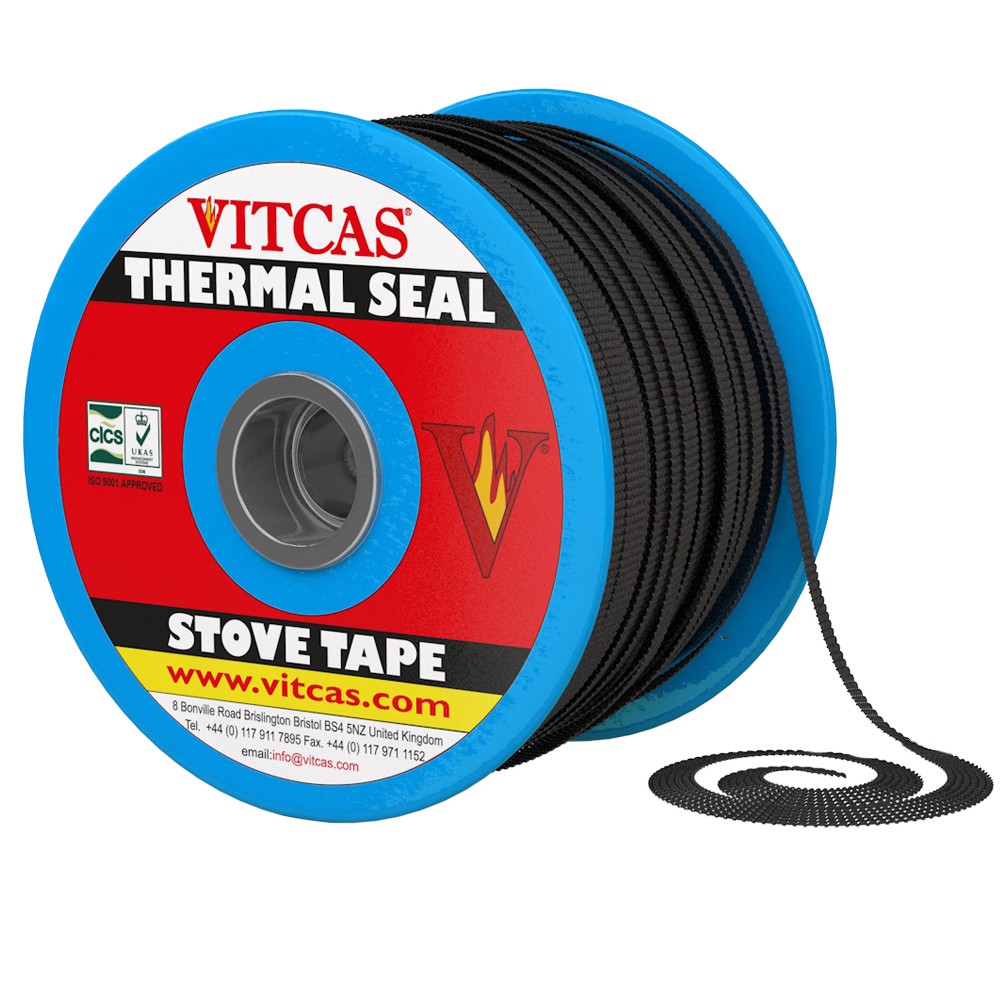
The gasket between stove glass and the door frame must match the profile specified for the appliance. Some models use flat tape, others rope or a dedicated replacement seal. Before taking the door apart, check the fitting instructions and seal layout, including any intentional air passages around the glass.
1. Confirm the dimensions and fitting arrangement
Work only when the stove is completely cold. Photograph the inside of the door, retaining clips and existing seal. Record the model and required tape dimensions. Width and thickness are separate measurements: changing the thickness can alter the pressure exerted on the glass.
If screws are seized, the frame is distorted or the glass is damaged, stop and ask the service technician how to proceed. A replacement gasket will not correct these faults.
2. Clean the contact surfaces and position the seal
After carefully removing the glass, remove the old seal and residues from the contact areas without damaging the glass edges. Leave the surfaces clean and dry. Fit the replacement along the specified route without stretching it or leaving folds.
Vitcas black self-adhesive stove tape is an example of a flat glass fibre gasket. The manufacturer distinguishes the heat resistance of the fibre from that of the adhesive backing. The backing helps position the tape; it should not be assumed to replace required retaining clips or permanent adhesive.
3. Refit the glass and check the retaining clips
Use the original clip or retaining-strip arrangement. Folded tape or an unsuitable thicker gasket must not place uneven pressure on the glass. Follow the appliance instructions for fitting and tightening the retainers.
Where additional adhesive is specified, choose one compatible with the seal and substrate, such as Vitcas RA within its intended use. Allow the required drying time. Keep intentional air passages open and retain the prescribed mechanical glass fixing rather than substituting rigid cement.